3 DAY MATTRESS SALE! THURSDAY - FRIDAY - SATURDAY!
98TH ANNIVERSARY SALE-A-BRATION ENDS SATURDAY, NOVEMBER 7TH AT 5PM!
NO CREDIT CARD FEES!
1000's of Items IN-STOCK + 500 Mattresses!
Largest selection of USA Made Furniture & Mattresses + Amish Made!
FREE In-Store Design Services!
BUY LOCAL & LOVE YOUR HOME!
Tuesday-Thursday 10am to 6pm | Friday 10am to 7pm | Saturday 10am to 5pm | Sunday Closed To Be With Family & Friends | Monday Showroom Closed
5430 West Layton Ave, Greenfield - Metro Milwaukee
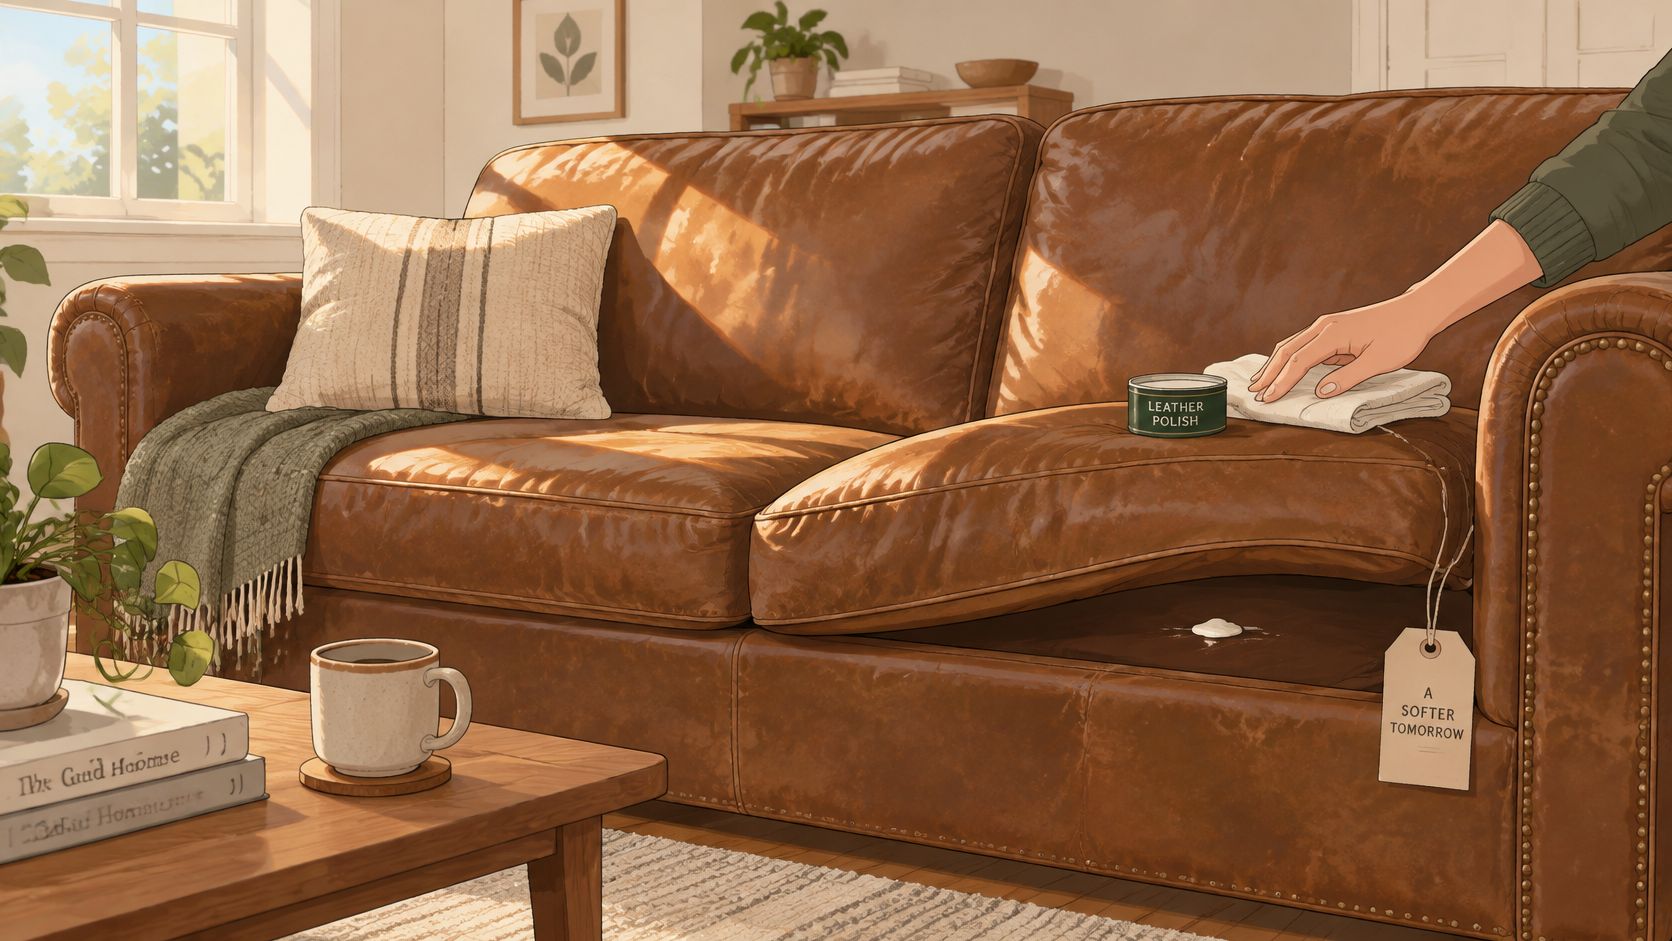
Leather furniture polish is a safe choice only when the care label or maker allows a product for that specific leather finish. Test a hidden spot first, and skip the polish when the label says no.
The sofa still feels comfortable, but the arm beside the favorite movie-night seat looks dull. A bottle promising shine sounds like an easy fix, especially when company's coming. Yet that patch might need cleaning, a compatible conditioner, or no treatment at all.
The goal is to preserve the original finish, not make every leather sofa glossy. A little restraint can save a favorite family piece from streaks, sticky residue, and an expensive repair.
Say a family sofa arm looks tired after a year of daily use. Before reaching for a shine product, identify the upholstery. Leather furniture isn't one uniform material, and appearance alone won't reliably reveal what treatment it can tolerate.
Protected leather has a sealed surface. Pure aniline may have no protective topcoat, while semi-aniline has a lighter protective treatment that leaves natural markings visible. The upholstery care guidance distinguishes protected leather that permits limited damp cleaning from pure aniline that shouldn't receive liquid cleaning.
Leather Finish and the Right Polish Approach
Use these clues to narrow the possibilities, then confirm the finish with the care tag. Don't deliberately wet the sofa to identify it.
Leather type
How to recognize it
Polish approach
Test first?
Protected or finished
Sealed surface, even sheen, care instructions permit damp wiping
Conditioner made for finished leather, only if the care label allows it
Yes, hidden spot
Pigmented
Solid, even color with a sealed surface
Same as protected; avoid glossy household polish
Yes, hidden spot
Semi-aniline
Light protective layer, some natural markings still visible
Conditioner used sparingly, only as the maker permits
Yes, extra care
Aniline
Typically no protective topcoat; soft, natural grain and markings; absorbent
Usually no polish; maker-approved conditioner only
Yes, darkening risk
Nubuck or suede
Brushed, velvety surface
No standard polish; brush and use maker-specified products only
Yes
Faux or bonded leather
Often uniform printed grain; edges may peel with age
Follow the care label; mild damp cloth at most, if permitted
Yes
Grain descriptions and finish descriptions answer different questions. BILTRITE's explanation of top-grain and full-grain leather helps clarify the material, but neither term alone grants permission to apply polish.
Three Sensible Outcomes
A compatible cleaner or conditioner may be appropriate when the maker permits it. A sealed sofa that looks and feels fine may need only dusting and vacuuming. Sensitive finishes may need no polish at all.
At the store shelf, look for wording such as for finished leather or leather conditioner, together with clear compatibility instructions. A generic leather-care label isn't enough if it never identifies suitable finishes.
Keep the maker's care notes with the purchase paperwork, including notes supplied with BILTRITE's USA-made and Amish-made pieces. If the label is missing, treat the upholstery as sensitive and seek identification before choosing a treatment. A hidden-spot test follows product selection; it doesn't replace it.
Household Products That Can Ruin Leather Furniture
The most tempting mistake is grabbing the wood polish from under the kitchen sink because it's a polish. Wood and leather finishes aren't interchangeable. A product that makes a dining table gleam can leave a sofa oily, uneven, or unpleasantly sticky.
The manufacturer's furniture-care instructions warn against silicone waxes, lemon oils, oily polishes, ammonia, detergent soaps, abrasives, and solvents because they can damage leather's protective surface. The safer swap isn't always another bottle. Sometimes it's a clean cloth.
Products to Avoid on Leather Furniture and What to Use Instead
All liquid alternatives below require permission from the upholstery care label.
Product
Why it harms leather
Use instead
Ordinary wood furniture polish
Can leave an oily film, change sheen, and attract dust
Conditioner made for the finish, if allowed
Silicone wax or oily polish
Can damage the protective surface and leave sticky residue
Maker-approved leather conditioner
Lemon oil or other household oils
May soak in unevenly, darken, and soften the hide
Only a maker-approved product
Ammonia or solvents
Can strip or soften the topcoat
Distilled water on a barely damp cloth, if permitted
Alcohol wipes or sprays
Can affect the topcoat and cause discoloration
Distilled water on a barely damp cloth, if permitted
Saddle soap or detergent soap
Can damage the finish and leave residue
Mild natural soap foam only where the maker permits the method below
Shoe polish or window cleaner
Isn't formulated for upholstery finishes
Leather-specific cleaner matched to the finish
Abrasive cleaners or scrubbing pads
Can create surface scratches
Soft brush or low-suction vacuum
An absorbent aniline cushion can show darkening more readily than a sealed panel. A product that appears harmless on one leather piece may visibly stain another, even when both are brown and feel similarly soft.
Shelf-check rule: Furniture polish describes a product category, not permission to use it on leather.
Avoid trying to cancel one questionable product with another. If an oily treatment leaves residue, adding a stronger cleaner can turn a surface problem into finish damage. Stop applying chemicals and ask the maker about the safest removal method.
How to Prep and Spot Test Before You Polish
A quiet Saturday afternoon seems like a good time to freshen up the sofa. Gather the care tag, a vacuum with adjustable suction, soft cloths, and the proposed treatment before starting. Rushing straight to the visible armrest leaves no room to catch a bad reaction.
The leather conservation overview supports a conservative approach: identify the material, remove abrasive dirt carefully, and test treatments before wider application. It also cautions against excessive dressing, which can leave dust-attracting residue.
A Careful Hidden-Spot Routine
Confirm the care instructions. Match the upholstery to the finish categories above and check the proposed product's exclusions. If the two labels disagree, don't proceed.
Lift away loose grit. Use low suction with a soft brush or gauze-covered nozzle, keeping the nozzle slightly above the leather. This prevents the tool from dragging grit across the surface.
Choose representative hidden leather. Try a concealed back-panel area or the underside of a removable cushion, provided it's actually the same leather rather than fabric backing. Avoid testing only on a different trim material.
Apply a tiny amount. Put the product on a soft, lint-free cloth and spread a thin film. Keep the test controlled rather than soaking a patch.
Allow complete drying. Inspect under angled light and compare with adjacent untreated leather. Check feel as well as appearance, using a clean cloth to look for color transfer.
Stop if the patch darkens unexpectedly, turns tacky, develops streaks, or transfers color. Don't assume that more buffing or another coat will correct the reaction.
A successful test shows only that the tested area tolerated that application. Worn seats, replacement panels, and heavily handled arms may respond differently, so keep watching throughout treatment.
For a specific spill or stubborn mark, BILTRITE's guide to removing stains from leather furniture can help distinguish stain treatment from general maintenance. Spot testing is inexpensive insurance, not a guarantee that polish can fix every problem.
Homemade Cleaning Options and When to Skip Polish
A sealed leather sofa with an intact finish may need only dusting and careful vacuuming. Polish is an optional treatment, and applying it when the surface is already clean and in good condition can add product without improving the finish.
For light soil on leather that permits damp cleaning, moisten a clean, soft, undyed cloth with distilled water and wring it thoroughly. Wipe gently, then remove remaining moisture with a separate dry cloth. Keep the leather from feeling soaked, and prevent liquid from collecting around seams.
A Restricted Soap-Foam Option
The leather maintenance instructions specify ¼ deciliter of natural, colorless soap flakes in 1 liter of warm water, with only the foam touching the leather. They also call for wiping with a dry, undyed cloth, then polishing with a dry cotton cloth once the leather has dried.
Use this method only where the furniture maker permits soap foam on that finish. Test the foam first, and dip the cloth into it rather than scooping up soapy water.
Homemade oil blends can absorb unevenly, leaving dark patches or making the leather excessively soft. A recipe that suits a belt or bag may not suit a sofa. BILTRITE's guide to cleaning leather furniture naturally provides more context for choosing a restrained cleaning routine.
Match the Fix to the Problem
Water rings: Blot remaining moisture and let the area dry naturally. Repeatedly wetting the ring or scrubbing its edge can make the mark harder to address. Persistent marks need finish-specific advice.
Tackiness: Gently lift loose residue with a dry cloth and stop using products on the area. If stickiness persists, get advice before trying another homemade mixture.
Dull patches after cleaning: Check whether the coating is worn. Conditioner can't rebuild a missing finish.
Cracking or peeling: Contact the maker or a leather-restoration professional. Polish can't reconnect damaged material or secure a failing surface layer.
Blot spilled liquids promptly, and keep leather away from direct sunlight and nearby heat sources. These habits help protect the upholstery without repeated treatments.
A clean, sealed sofa that looks fine can be left alone. Dusting and careful vacuuming are often enough when the finish is intact and the maker does not call for treatment.
How to Apply Leather Polish Step by Step
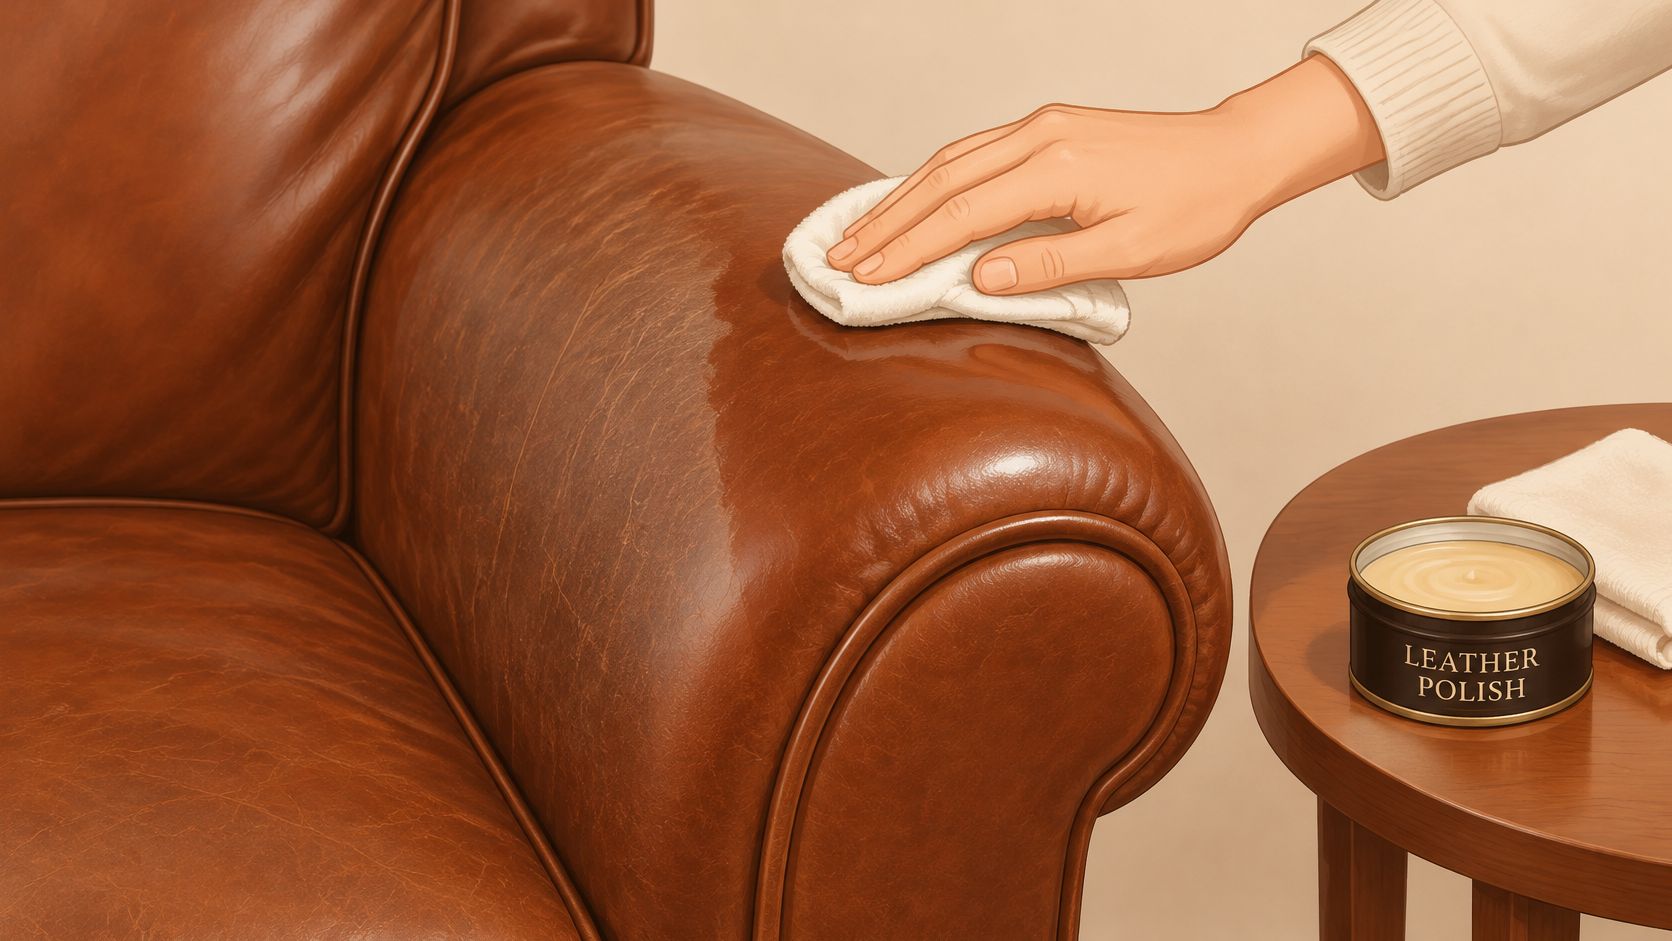
Polishing often goes wrong before the first buffing stroke. Someone spreads cream over a dirty armrest, then keeps rubbing because the result looks streaky. Cleaning first is the difference between a fresh-looking sofa and one with shine sitting over grime.
Treat leather furniture polish as an optional finishing treatment. The following routine applies only after the maker approves the product and the hidden test passes.
Apply Less and Watch the Surface
Clean away spills and surface dirt. Blot rather than rub, using the permitted cleaner and a clean cloth. Remove cleaner residue as directed so the conditioner isn't being spread over leftover soil.
Let the leather dry naturally. Keep it in shade and away from heaters; don't use a hair dryer to hurry the job. The leather-cleaning guidance cautions against soaking, aggressive scrubbing, and heat drying because they can damage the material or finish.
Spread a thin, even layer. Apply a small amount to a soft, lint-free cloth rather than pouring it onto the furniture. Give seats, armrests, and backs careful attention, without treating high use as a reason to apply a heavier coat.
Work in manageable sections. Use light pressure and watch the sheen as the cloth moves across each panel. Keep excess product out of seams, piping, and perforations, where it's harder to remove and can collect visibly.
Wait for the specified drying period. One leather maintenance guide calls for two hours of drying after evenly applying protective cream, followed by polishing with a wool cloth. That timing belongs to its stated care system; follow the actual product and upholstery instructions rather than borrowing the interval automatically.
Buff lightly after drying. Use a clean, dry, soft cloth, or the cloth specified for that treatment, and aim for an even appearance. Don't press harder to force gloss from leather designed to have a matte finish.
Check the result again the next day. Inspect under angled light and feel for tackiness before returning throws or decorative pillows. If the surface feels sticky or looks uneven, stop treatment and seek advice instead of adding another coat.
Why a Thin Layer Wins
Excess product doesn't automatically provide extra protection. It can remain on the surface, trap grime, and leave different panels looking mismatched. A restrained application also makes it easier to notice a reaction before treating the entire sofa.
Application reminder: Aim to maintain the finish that came with the furniture, not create a new one.
Once the approved treatment has dried and the surface feels clean, leave it alone. Repeated buffing and additional coats can turn a satisfactory result into an avoidable cleanup job.
How Often to Polish and What to Do Between Treatments
Plan care around the furniture maker's instructions and the sofa's condition. A main family sofa may need attention more often than a lightly used reading chair, but use alone does not mean either piece needs polish. Many sealed leather pieces stay in good shape with dusting and vacuuming between treatments.
The manufacturer's product-care advice recommends cleaning and conditioning approximately every 6 to 8 weeks, or as needed with use, and warns that excessive cleaning can deteriorate the protective surface. Treat that interval as guidance for the care system it describes, not as a universal schedule for every leather sofa.
Leather Furniture Care Schedule by Task
Task
How often
Key note
Dust with a soft brush or vacuum crevice tool
As dust and grit accumulate; check during regular room cleaning
Removes particles without adding chemicals
Blot spills
Immediately
Blot, never rub, and avoid soaking
Light damp-cloth clean
When soiled, not on a fixed schedule
Only where allowed; use a barely damp cloth, then dry
Clean and condition
At the maker's interval, adjusted for permitted use-based care
Cleaning too often can wear the protective surface
Protective leather sealant
Only at the interval stated by the compatible product and furniture maker
A different treatment from conditioner
Test any new product
Before first use of each new treatment
Inspect a concealed area after full drying
A protective sealant may have a 3- to 6-month interval in the cited care system. Follow the compatible product and furniture maker's instructions for your piece instead of applying that interval automatically. Conditioner and sealant serve different purposes, and using both is not automatically better.
BILTRITE's guide to conditioning a leather sofa can help distinguish conditioning from ordinary cleaning. Keep the approved product name and care instructions with the furniture paperwork so everyone at home can follow the same routine.
Make the Decision by Condition
Dusty surface: Remove grit rather than spreading cream over it.
Fresh mark: Use the permitted spot-cleaning method.
Dry or dull appearance: Check for soil or finish wear before deciding that conditioner is needed.
Treatment interval reached: Confirm the maker permits the product, then assess whether treatment is appropriate.
Use a calendar reminder to inspect the surface, not as an order to polish. If the leather looks clean and its finish is intact, leave it alone. Dusting and vacuuming may be all a sealed piece needs between treatments; unnecessary polish can add residue without improving its protection.
Bring Your Leather Piece to Our Greenfield Showroom
If a leather sofa looks dull or has a mark you can't identify, bring its care tag and photos rather than trying to transport it. Include a close-up and a wider view showing where the concern appears. Those details can help distinguish soil or residue from finish wear. BILTRITE's guide to choosing a leather furniture restorer explains when routine maintenance may need to become a repair conversation.
BILTRITE is a fourth-generation, family-owned business serving Greenfield and Metro Milwaukee since 1928. Staff can discuss furniture choices and care without pressure.
Comfort and Care Belong Together
The showroom specializes in affordable, better-quality furniture, with an emphasis on USA-made, Amish-made, and solid-wood pieces. The selection includes small-scale furniture for tighter spaces and heavy-duty options. You can compare upholstery, feel its texture, view its sheen, and ask about care requirements before choosing.
Compare in person: Ask how the leather finish affects its care needs. If the piece is sealed and looks sound, dusting and vacuuming may be all it needs.
Ask about mobility seating: Explore power lift recliners and discuss which features suit the household.
Plan your visit: The showroom is closed Sundays and Mondays.
A visit can help you weigh comfort, space, construction, and upkeep together. Bring the care tag and photos, then ask which furniture and maintenance routine fit your home.