How to Dye Leather Furniture: A BILTRITE Family Guide


That leather sofa in the family room might still be the favorite seat in the house. The shape is right, the cushions still feel good, and it has years of movie nights, naps, and everyday life built into it. But the color is faded on the arms, the seat looks tired, or one corner has started looking uneven and worn.
That's usually when people start searching for how to dye leather furniture. They don't want to give up on a piece that still has life left in it. They just want it to look more at home in the room again.
At BILTRITE, that makes a lot of sense. This fourth-generation family business has been helping Metro Milwaukee families with furniture since 1928, and that long view tends to make people practical. Sometimes restoring a piece is the smart move. Sometimes it isn't. Either way, honest advice matters. If a leather chair or sofa is a good candidate, careful recoloring can freshen it up. If it's too far gone, it's better to know that before a weekend project turns into a bigger headache. Readers who are also weighing repair versus replacement can find a broader look at leather furniture quality and what makes a piece worth keeping.
Table of Contents
- A New Lease on Life for Your Leather Furniture?
- Planning Your Project The Secret to Success
- Your Step-by-Step Guide to Dyeing Leather
- Sealing the Deal and Caring for Your Work
- Fixing Common Dyeing Mishaps
- When a New Piece Is the Best Choice for Your Family
A New Lease on Life for Your Leather Furniture?
A worn leather recliner often creates the same debate in a household. One person says it still feels great. Another says it makes the whole room look tired. Both are usually right.
Leather can age beautifully, but it can also show hard use fast. Sun-faded headrests, darkened arm caps, and uneven color on seat cushions are common trouble spots. Recoloring can help when the structure is still solid and the surface is worn more than broken. That distinction matters. Dye can improve appearance, but it won't rebuild missing material or undo major peeling.
Practical rule: Recolor a piece that's tired. Replace a piece that's failing.
That kind of honest line comes from being around furniture for generations. Families don't need pressure. They need someone to say what's worth saving and what isn't. A good leather dye project is less about covering a problem and more about restoring a usable, comfortable piece that still deserves a place in the home.
There's also a mindset shift that helps. Dyeing leather furniture isn't like brushing paint onto wood trim. It's a finishing job. The person doing it has to think about surface prep, thin layers, drying time, and the kind of leather underneath the color. People who rush almost always create extra work for themselves.
For the right piece, though, the result can be satisfying. A sofa that looked faded can look richer. A chair that felt dated can look more intentional. That's why this project keeps drawing people in. It offers a middle ground between living with wear and buying something new right away.
Planning Your Project The Secret to Success
The most important part of this project happens before any color goes on the furniture. The piece has to be a good candidate, and the person doing the work has to understand what kind of surface is being dyed.
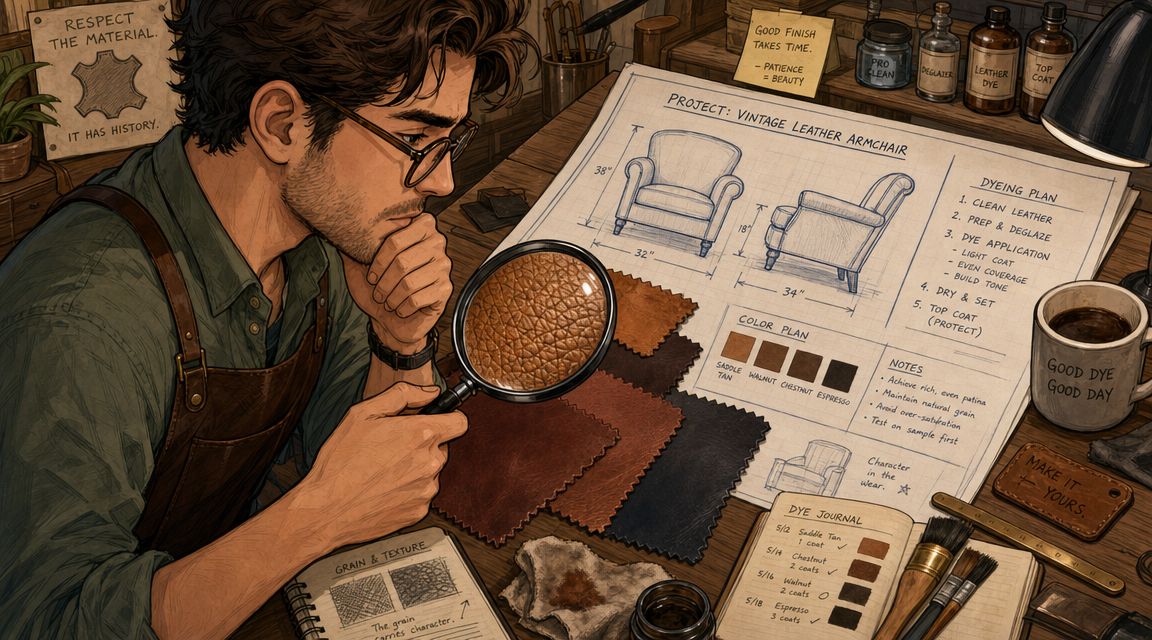
A major issue in leather furniture recoloring is that many people assume any leather couch can be dyed the same way. It can't. As noted in this guide on whether leather furniture is actually dyeable and how different leather types absorb color differently, aniline, semi-aniline, pigmented, bonded, and repaired leathers all behave differently, and some factory finishes have to be stripped or deglazed before dye will bond.
Start with the leather itself
A simple way to think about common leather categories is this:
- Aniline leather tends to feel more natural and open. It usually shows grain and variation more clearly.
- Semi-aniline leather has some protection and some natural character. It often sits in the middle.
- Pigmented leather has a more finished, coated surface. It usually resists absorption more than an open leather does.
The challenge for a DIY project is that people often don't know which one they own. That's normal. Older furniture, repaired areas, and manufacturer finishes can make identification less obvious than expected.
Some pieces fail before the dye even starts. The surface simply wasn't ready to accept color.
A simple hidden-spot test
A hidden-area test can save the whole project. Choose a spot behind a cushion, low on the back, or underneath an arm where a mistake won't stand out.
Try a small water drop test in that hidden area. If the leather seems to take in the moisture quickly, the surface may be more open. If the water beads and sits there, the finish may be more sealed. That doesn't tell the whole story, but it gives a useful clue before prep begins.
Then test the actual prep and color system in that same hidden spot. Look for a few things:
- How evenly the area accepts color
- Whether the finish softens or reacts during prep
- Whether the dried sample blends or looks artificial
- How the surface feels after drying
Readers dealing with a dirty or oily piece should handle that first. A good starting point is this BILTRITE guide on how to clean leather furniture naturally, because contamination on the surface can fool a person into thinking the leather itself is the problem.
Gather the right supplies before opening the dye
This project goes better when the whole setup is ready from the start. Running around the house looking for a sponge while dye is drying on one armrest is how streaks begin.
A practical supply list usually includes:
- Cleaner for removing everyday dirt and body oils
- Deglazer or prep product to help remove old finish and improve adhesion
- Applicators such as a sponge, brush, or spray setup
- Lint-free cloths for wiping and buffing
- Gloves to keep hands clean and reduce accidental transfer
- Painter's tape and drop cloths to protect nearby surfaces
- A topcoat or sealer for the final finish
One brand mention fits naturally here because it's relevant to care planning rather than sales. BILTRITE Furniture-Leather-Mattresses publishes leather care information that can help homeowners understand maintenance habits before and after a recoloring project.
Your Step-by-Step Guide to Dyeing Leather
A leather dye job succeeds or fails on routine. Clean thoroughly. Prep carefully. Work in thin layers. Stay organized. That's what keeps a sofa from turning blotchy.
A technically sound workflow starts with surface preparation, and skipped cleaning or skipped deglazing is a common reason people get blotches, lap marks, or drip tracks instead of an even result. Lowe's also notes that gentle sanding in the 400–600 range, thin coats, and a full cure of 24–48 hours are part of the process in its guide to how to dye a leather couch.
The prep work
Start by clearing the area and making the furniture easy to reach from all sides. Remove loose cushions if possible. Vacuum seams and creases so grit doesn't get dragged around by the applicator.
Then clean the leather thoroughly. Use a leather cleaner or a mild soap-and-water approach, and let the piece dry completely. Once it's clean, lightly sand or deglaze the surface based on the product instructions and the condition of the original finish.
This prep stage is not optional. Old body oils, silicone residue, and leftover topcoat can cause the dye to sit unevenly on the surface. That's when one cushion turns dark while the next one stays light.
Applying the color
Apply dye in very thin, even coats. Work in manageable sections so the surface stays visually consistent, and keep a wet edge as much as possible. That means not letting one area dry awkwardly before the neighboring area is blended into it.
People usually use one of three methods: sponge, brush, or spray. Each can work. The key is restraint. The applicator should not be overloaded.
- Sponges are handy for broad, controlled coverage.
- Brushes help with seams, piping, corners, and detail work.
- Spray equipment can give a more uniform finish on larger surfaces, but it takes a steadier setup.
Load less dye than feels necessary. Thin coats are easier to correct than heavy ones.
Choosing your application method
| Method | Best For | Pros | Cons |
|---|---|---|---|
| Sponge | Seat panels, backs, broad flat areas | Good control, simple to use, easy for gradual build | Can leave pressure marks if worked too hard |
| Brush | Seams, edges, tufting, trim details | Reaches tight areas well | Easy to leave brush marks if too much product is used |
| Spray | Large pieces and full color changes | Can create very even coverage | Requires more setup and more skill to avoid overspray |
Patience between coats
This is the part many DIYers fight. The first coat rarely looks impressive. It may look uneven, too light, or not fully blended. That doesn't mean the project is failing. It usually means the process is working the way leather finishing works.
Let each coat dry fully before adding the next. Build color gradually instead of trying to force coverage in one pass. Work the same path each round so the piece develops color evenly across arms, cushions, fronts, and outside panels.
A steady rhythm helps:
- Start in the least visible area to settle into the technique.
- Move panel by panel instead of bouncing around the room.
- Check seams and edges before calling a coat done.
- Step back often because close-up work can hide uneven tone.
People who stay patient usually end up with a more natural result. People who chase instant coverage usually end up fixing runs, sticky spots, or dark patches later.
Sealing the Deal and Caring for Your Work
Once the color looks right, the project still isn't done. Dye needs protection. Without a proper finishing layer, the surface is more vulnerable to rubbing, uneven wear, and premature fading.
Why sealing matters
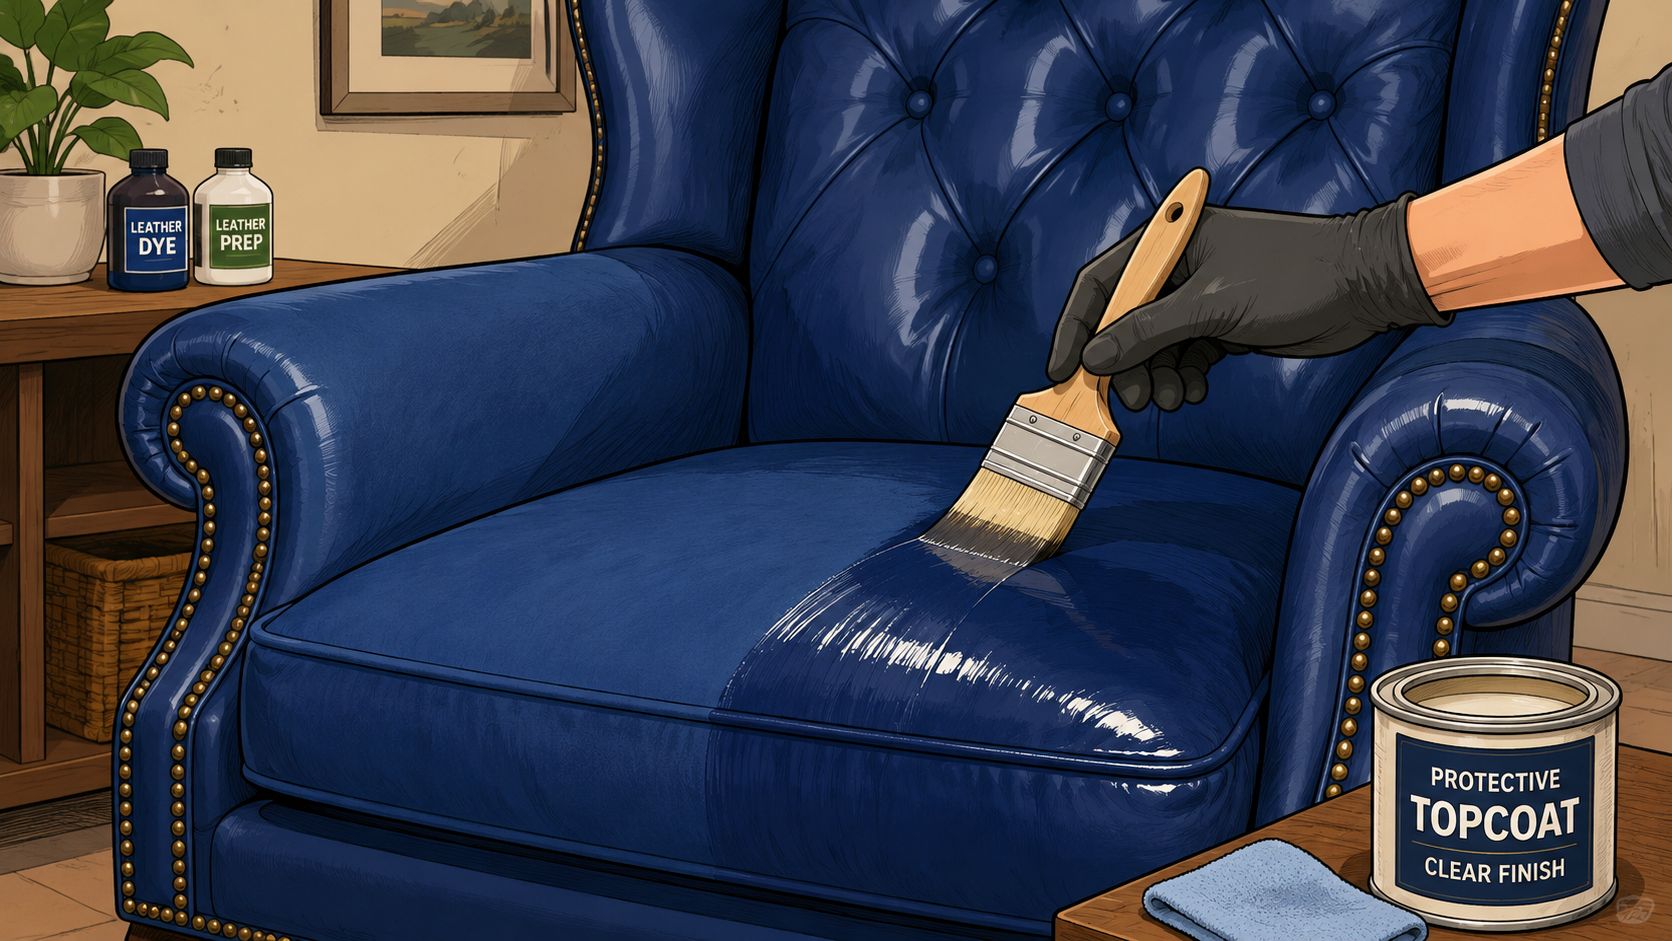
A topcoat or sealer helps lock in the recolored surface and gives the leather a more finished feel. It can also influence the final look. Some finishes read more matte, while others lean softer or slightly richer in appearance.
This stage deserves the same discipline as the color coats. Light application is usually the safer path. Heavy finishing layers can create a plastic look or a tacky feel if they don't settle properly.
A leather dye project is a layered finishing process, not a quick wipe-on job. Independent how-to guidance recommends thin, even dye layers and a full cure of 24–48 hours, while another guide recommends a final cure of at least 72 hours before normal use in its article on how to dye a leather sofa.
Dry is not the same as cured
A piece can feel dry to the touch and still not be ready for regular family use. That difference trips people up. Someone sits down too early, tosses a blanket over the arm, or puts the dog back on the couch, and the finish gets marked before it has settled.
A safer approach is to treat the furniture gently for a few days. Avoid friction, heavy use, and anything that traps moisture against the surface. If there are removable cushions, keep air moving around them instead of stacking them tightly.
A newly dyed chair may look finished before it's ready to live through everyday use.
Ongoing care after recoloring
Maintenance after recoloring should stay simple.
- Dust and wipe gently so grit doesn't wear the new finish.
- Clean spills quickly with a soft touch instead of aggressive rubbing.
- Keep the piece away from harsh sun exposure when possible.
- Condition thoughtfully with products suited to finished leather care.
For homeowners who want a basic care routine after the project, this BILTRITE article on how to condition a leather sofa is a helpful next read.
Fixing Common Dyeing Mishaps
Most leather dye mistakes look dramatic in the moment and less dramatic after a calm correction. The fix usually comes down to the same idea that should have guided the project from the start. Slow down and build the finish in light passes.
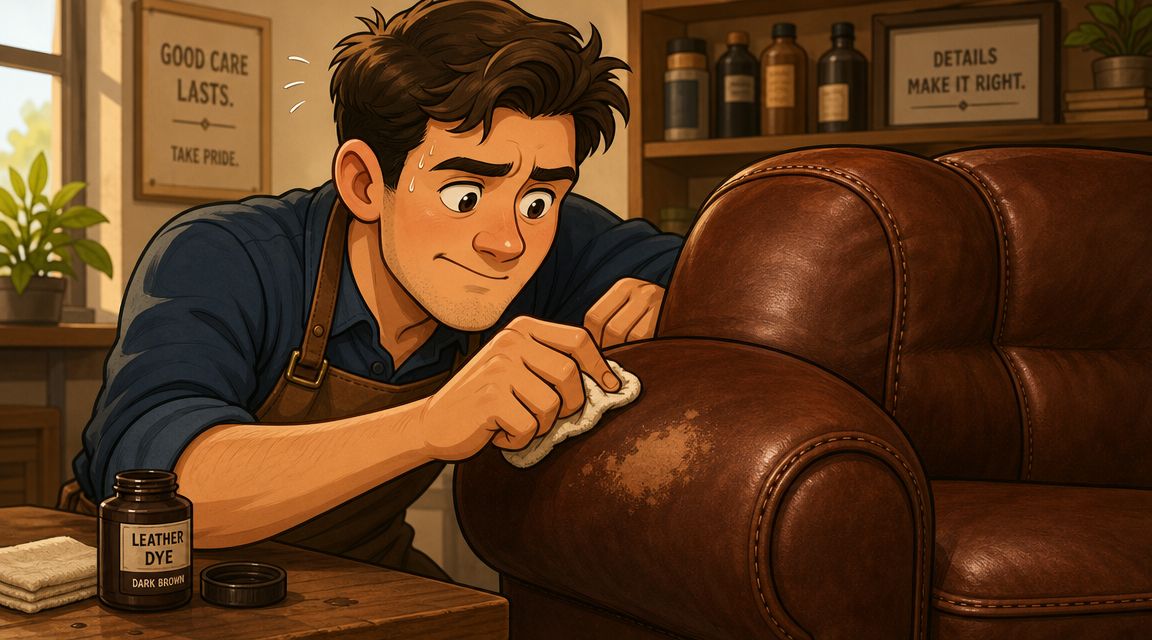
Guidance on leather furniture recoloring consistently points to thin coats and small sections with light pressure. It also notes that darker transformations may require up to six coats, and a full color change can take eight coats in practice, as explained in this article about dyeing leather furniture a different colour. That matters because many so-called mistakes are really just underbuilt color or overbuilt product.
Streaks and patchy color
Streaks usually come from one of two things. The applicator carried too much dye, or the person working the surface tried to cover too much area at once.
The usual fix is to let the surface dry, assess it in even lighting, and apply another very light coat to blend the area. If one section is noticeably rough from too much product, gentle smoothing before the next pass may help.
Sticky finish or tacky feel
A tacky surface usually points to coats that went on too heavy or didn't get enough time to settle between applications. Thick layers trap problems. Thin ones tend to dry more predictably.
If the surface still feels sticky after waiting, stop adding product. Let it rest, then inspect whether there's a heavy buildup in one zone. Rushing a sealer over a tacky dye layer usually makes the issue harder to correct.
Missed spots and edge problems
Seams, piping, corners, and the lower outside arms are common places to miss. They don't always show while the person is close to the work. They show after everything dries and the furniture is viewed from across the room.
A good habit is to walk around the piece after each coat and check it from standing height. Use a smaller applicator or brush where broad tools can't reach cleanly.
For furniture that isn't just faded but actively peeling, recoloring may not be the right answer. This BILTRITE article on why a leather couch is peeling helps clarify when surface damage points to a bigger material problem.
When a New Piece Is the Best Choice for Your Family
Some furniture should be restored. Some furniture has already given a household everything it had to give.
If the leather is badly cracked, peeling across large areas, structurally loose, or covered with earlier repairs that keep telegraphing through the surface, dyeing may only dress up a deeper problem. The piece might look a little better for a little while, but it still won't feel reliable. In a busy family room, that usually means the project buys time rather than real value.
That's when a new piece can be the smarter family decision. Not because replacement is always more exciting, but because quality matters over the long haul. A solid, better-made sofa or chair can save frustration, look more at home in the room, and hold up better to daily living.
For readers trying to judge whether a worn piece is restorable or just worn out, this BILTRITE guide on choosing the best leather furniture restorer approach can help with that call.
BILTRITE has been part of the Metro Milwaukee community since 1928, and the family-first approach still shows in the advice. Sometimes that means encouraging a DIY refresh. Sometimes it means saying a new piece will serve the home better. The showroom in Greenfield focuses on affordable, better-quality furniture, including many USA-made and Amish-made options, along with small-scale choices, heavy-duty pieces, and a mattress department with over 60 models. The point isn't to push a sale. It's to help families make a choice they'll feel good about after the weekend project dust settles.
If that leather piece still has good bones, this guide should help a family tackle the job with realistic expectations. And if the wiser move is starting fresh, the team at BILTRITE Furniture-Leather-Mattresses would love to help in person. Stop by the Greenfield showroom, say hello, and take a look at better-quality furniture built for real homes and real family life.