


Bed Frame Clamps: How to Choose, Install and Fix Them


It's 2 a.m. and the bed answers every roll with a creak, a rock, or a small sideways shift. The mattress may feel fine, yet the frame underneath keeps changing shape at one loose joint. That's exactly where bed frame clamps earn their keep, and also where their limits matter.
Table of Contents
- What Bed Frame Clamps Do for Your Bed
- Choosing a Clamp That Matches Your Frame
- How to Install a Bed Frame Clamp Step by Step
- How to Tighten and Test a Clamp Joint
- Fixing Clamps That Loosen, Rattle or Slip
- When a Clamp Is Not the Right Fix
- Bring Your Frame In for a Fit Check
What Bed Frame Clamps Do for Your Bed
A bed frame clamp is a small metal bracket that squeezes two overlapping rail sections together so they act as one rigid joint. There's no welding and no permanent connection. Tightening the screw creates pressure and friction at the overlap, which keeps the rails from sliding when someone sits on the edge, rolls over, or gets in and out.
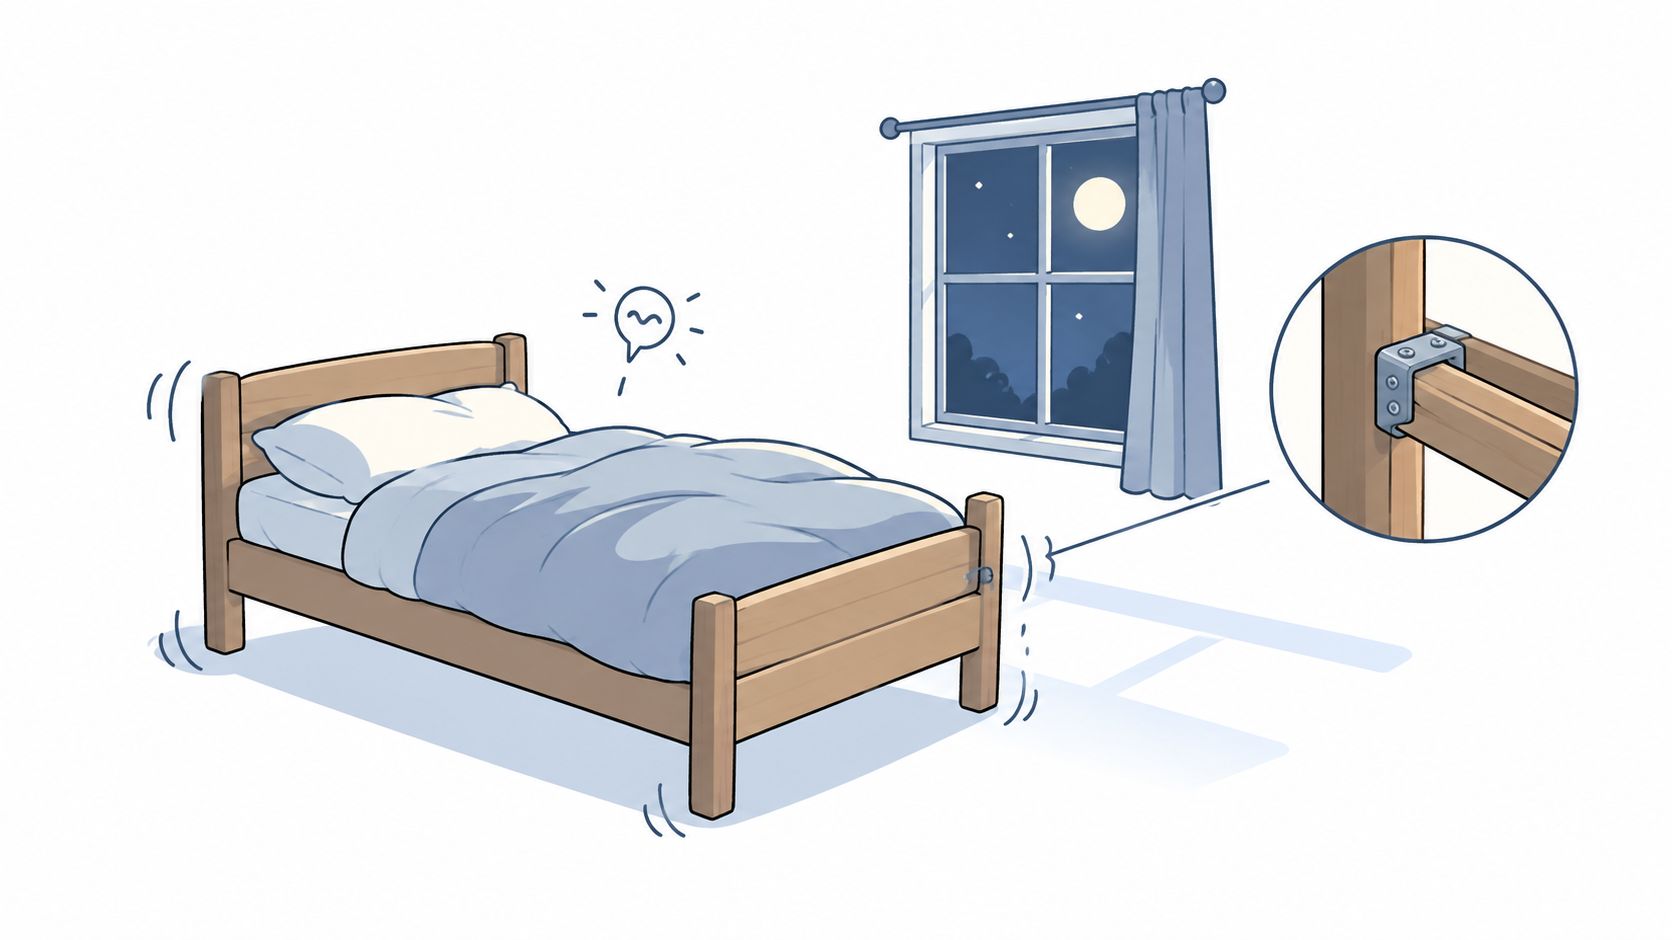
Adjustable and collapsible frames rely on that simple idea. A clamp lets one frame fit different mattress widths, then come apart for moving or storage. The logic is old. A U.S. patent filed on June 20, 1958 and granted on January 17, 1961 described a clamp made from a single piece of bent sheet metal with a set screw, built to hold overlapping angle sections while allowing width adjustment.
Where Clamps Usually Appear
Look for clamps at corner rail joints, at the center of adjustable rails, and where side rails meet a headboard or footboard. Knowing the names for those pieces helps, and a guide to the parts of a bed makes the joint easier to identify before any hardware comes off.
Three signs point to a joint that needs attention:
- Rails creep apart: The overlap gets shorter over time.
- A visible gap opens: The clamp no longer pulls both pieces flat.
- The frame rocks: Sitting on the edge makes the corner move.
The short version is easy to repeat. The clamp holds the joint together and keeps the frame from changing shape.
Choosing a Clamp That Matches Your Frame
Start by measuring the rail, then check the mattress label. The clamp has to suit the joint it grips, including the rail's material, shape, and dimensions. A part can slide into place and still be a poor structural fit.
- Rail width and height: Measure both faces the clamp needs to cover.
- Metal thickness: Thin angle iron and thicker steel may need different gripping hardware.
- Hole spacing: Check that existing holes line up without forcing screws sideways.
- Corner clearance: Make sure the clamp fits beside legs, brackets, and slats.
- Joint shape: Identify whether the joint is flat, angled, or tubular.
A clamp that physically fits is only the first check. It also needs to match the material and joint design, so it can grip the rails along the frame's load path.
For example, this rail-clamp kit is limited to 1-by-1-inch and 1.25-by-1.25-inch angle-iron rails. Another specification describes a 1.25-by-1.25-inch steel rail and a 1-inch-wide clamp body. Those details are useful fit checks, not proof that the clamp works on every frame. A clamp made for two steel rails may not suit a bracket joining wood rails, attaching a center support, or connecting a rail to a headboard.
| Clamp type | Typical load guidance | Typical use | Fit check |
|---|---|---|---|
| Standard clamp | Light-use applications | Frames with standard rails | Rail width must match the clamp body |
| Adjustable design | Moderate-load applications | Collapsible or width-adjustable frames | Confirm the adjustment range and how it locks |
| Heavy-duty model | Higher-load applications | Heavier mattresses, adjustable bases, or frames used by two adults | Confirm the rest of the frame is suited to the same load |
| Rail-clamp kit for angle-iron rails | Use the rating printed on the kit | Steel angle rails, 1 by 1 in or 1.25 by 1.25 in | Fits only the listed rail sizes |
Load ratings depend on the specific product, so they are not universal categories. Consider the combined weight of the frame, mattress, and occupants, along with movement. Sitting on the edge, rolling over, or bouncing puts different demands on a joint than quiet sleeping.
Older, antique, platform, and mixed-material frames can have dimensions that do not match common replacement parts. This guide to how to choose a bed frame can help you consider the frame as a whole. A tight clamp secures its joint, but it cannot make a weak rail or the rest of the frame safe for a load it cannot support.
How to Install a Bed Frame Clamp Step by Step
Say a queen frame has one wobbly corner. The rail overlap looks close, but the corner sits slightly crooked and squeaks under pressure. The fix isn't more force. It's the right order.
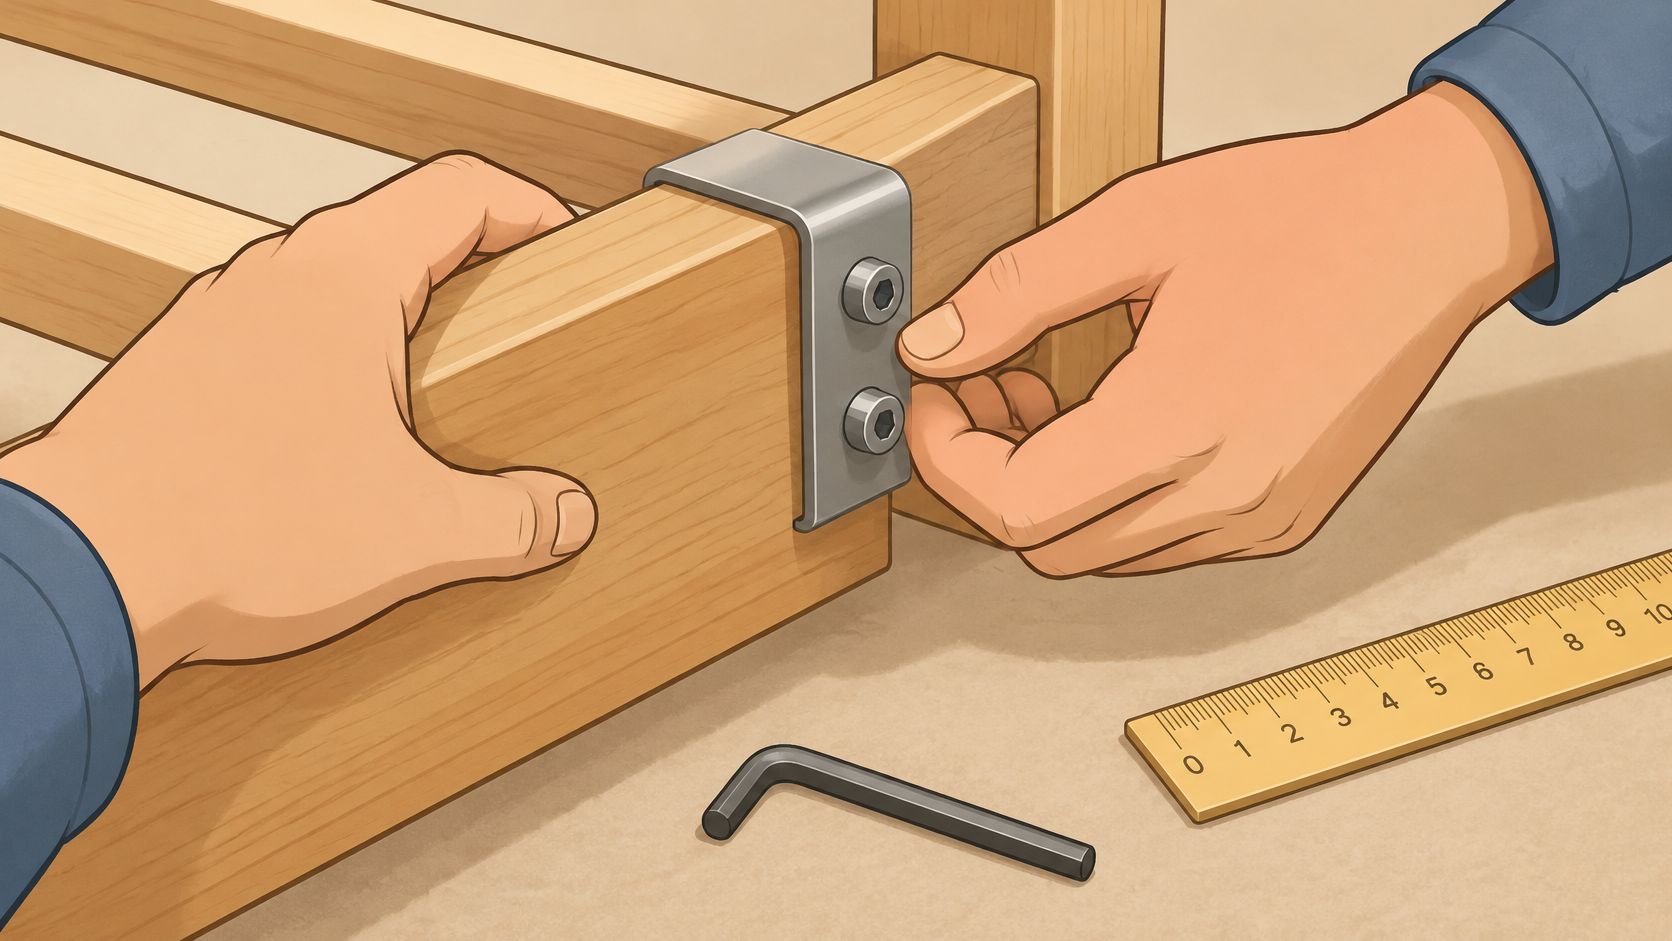
Check the frame instructions first. Some frames need clamps at every corner, while others use them only at the center of adjustable rails. A general guide to assembling a bed frame can help with overall layout, but the clamp sequence below follows the six steps in published installation guidance for adjustable bed frame clamps.
- Measure rail or leg thickness and width. This comes before fitting anything. A clamp that misses these dimensions won't sit flat, no matter how hard the screw is turned.
- Center the clamp symmetrically over the joint. Both rail sections should share the grip. An off-center clamp can pull the rail sideways and leave one side barely held.
- Set adjustable jaws flush and square. Full contact spreads pressure across the rail. Tightening before squaring locks in a crooked joint, which is the most common slip at this stage.
- Insert the specified screws or bolts, but leave them loose. The frame still needs room to move into alignment. Fully tightened fasteners at this point make step five nearly impossible.
- Align the frame, close every visible gap, then tighten. Snug by hand first, and use a torque figure only if the frame instructions print one. A gap left now often becomes a squeak later. On that wobbly queen corner, this is the moment the rail finally sits square.
- Run a manual shake and push-pull test from several directions. Do this before loading the mattress. Trusting how tight the joint looks, instead of testing it, lets a weak install pass unnoticed.
Reject the clamp if its shape prevents full contact, its fasteners can't be tightened as specified, or the frame still shifts during the stability check. Keeping a note of rail dimensions, clamp model, fastener type, and the final test result also makes the next repair much easier.
How to Tighten and Test a Clamp Joint
The wood or rail under the clamp usually sets the limit, not the metal part in hand. Tighten by hand with the goal of firm, even pressure. Over-tightening with tools can crush wood or strip threads. Clamp-on hardware also needs a solid, flat frame edge, and one installation guide for clamp-on bed rails specifies an edge at least 0.5 inches thick, with typical dynamic capacities of 250–300 pounds for standard residential side rails and 400–1,000-plus pounds for heavy-duty bariatric models. Those figures describe rail systems, not every bed frame clamp.
Why Two Fasteners Beat One
Controlled testing makes the point clearly. In controlled testing of wooden furniture-type joints, changing from a one-screw to a two-screw assembly increased average maximum bending moment from 113 N·m to 203 N·m, about 1.8 times, and average limit bending moment from 68 N·m to 135 N·m, about 2.0 times.
In plain terms, two properly spaced fasteners share the load and resist twisting far better than one. Where the frame design permits, use two. Keep holes away from damaged edges and end grain, and make sure the clamp bears on sound solid wood rather than veneer, cracked timber, or thin board. A strong metal clamp on weak wood is still a weak joint.
A Staged Test Anyone Can Run
- Inspect first: Look for splitting, crushing, or a fastener pulling into the wood.
- Rock gently: Apply low, slow movement and watch the joint, not the whole bed.
- Load progressively: Add weight in stages while checking for movement and loosening.
- Push, pull, and lean: Test the rail from several angles for wobble, shifting, or slippage.
A joint that only feels solid in one direction isn't solid yet.
Stop if the wood compresses, the rail slips, or the clamp won't sit flat. Correct the fit before the bed goes back into use.
Fixing Clamps That Loosen, Rattle or Slip
Clamps loosen because beds move. Night after night of rolling, sitting, and shifting works on the fasteners a little at a time. Older hardware often needs a tool for every adjustment, so small looseness gets ignored until the frame starts to come apart. A 1992 U.S. patent for an interlocking joint assembly named both problems directly, noting that tools could be required and clamps could loosen during use, potentially allowing the frame to disassemble unintentionally.
| Symptom | Likely cause | Fix |
|---|---|---|
| Joint creeps apart over weeks | Clamp loosened under movement | Retighten by hand, then check that both fasteners are seated |
| Squeaking at the connection | Loose screw or rubbing metal | Snug the fasteners, then check for a worn or rubbing surface |
| Corner wobbles when sat on | Misaligned rails or too little overlap | Loosen, realign the rails square, and reinstall |
| Clamp will not sit flat | Rail thickness or hole spacing mismatch | Re-measure, then replace with a part that matches |
| Screw spins without tightening | Stripped thread or worn wood hole | Stop using the joint and replace the fastener or hardware |
| Wood dents or cracks at the clamp | Over-tightening or weak wood | Stop, then repair or replace the rail |
When replacement is the answer, measure the old connection before buying anything. Guidance on finding replacement bed frame parts identifies hook width and the distance between mounting holes as two especially important measurements. Mark or photograph the old part to tell left-hand and right-hand pieces apart, and don't assume any part is universal.
Frames that keep loosening may need a stronger design rather than another round of tightening, which is where reading about the strongest bed frame options can help. Either way, recheck the joint after the first few nights of use and again every few months. A joint that was fine at install can drift.
When a Clamp Is Not the Right Fix
A clamp controls movement at one joint. It cannot make a weak frame safe, and treating it as a universal fix creates false confidence. That risk matters most for seniors, caregivers, children, and anyone using a heavy mattress or an adjustable foundation.
A bed frame clamp is not a grab handle and not a transfer aid. It shouldn't substitute for rated bed rails, transfer poles, or professionally specified accessibility equipment. Anyone who leans full body weight on a rail to stand needs hardware designed and rated for that job.
The broader safety principle is familiar. The U.S. Consumer Product Safety Commission Anchor It campaign recommends securing tip-over-prone furniture with anti-tip devices and installing them immediately. Those warnings focus on dressers and televisions, but the lesson carries over. Furniture that can move needs proper installation, not a hopeful patch.
Problems a Clamp Cannot Solve
- A weak or cracked leg: The load has nowhere solid to go.
- Missing center support: Wide frames sag in the middle regardless of corner joints.
- Loose fasteners elsewhere: Movement shifts to the next joint.
- An unstable headboard: Connection hardware for bed frames with hooks for headboard and footboard attachments does a different job than a rail clamp.
- An incorrectly assembled foundation: No clamp corrects a base built out of square.
Stop conditions: Cracked rails, stripped threads, missing support legs, or unexplained squeaking mean the bed stays out of use until the cause is found.
Replace bent rails, missing supports, or cracked wood instead of clamping over them. A clamp over damage hides the problem while the damage keeps growing.
Bring Your Frame In for a Fit Check
If the joint is snug, square, and passes the push-pull test from several directions, keep using the frame and check it periodically. If a stop condition appears, stop using the bed and have the frame checked before putting it back into service.
For an in-person fit check, bring the old hardware, measurements, and clear photos of the joint. Rail width, hole spacing, and the frame's condition are easier to assess with the actual part in hand. Photos of both sides can help show differences between left and right pieces, especially on older frames.
BILTRITE is a fourth-generation, family-owned business serving Greenfield and Metro Milwaukee since 1928. The store does not sell online, so visit the Greenfield showroom to see solid wood and Amish-made frames up close and compare options. It is closed on Sundays.
Bring the hardware, measurements, and photos to BILTRITE Furniture-Leather-Mattresses for a fit check. The showroom carries affordable, better-quality USA-made and Amish-made solid wood beds, heavy-duty frames, and mattress models to see and test in person. The team can help you decide whether a clamp repair suits the frame or a sturdier frame makes more sense.